
CLEVELAND — Today’s project is a fun one that you will find a lot of use for in your everyday life - a phone charging station and chalkboard combo that will look great sitting out on your counter.
The beauty of this project is most of the wood that we'll use is actually scrap wood. Probably stuff that if you work with wood, you already have laying around.
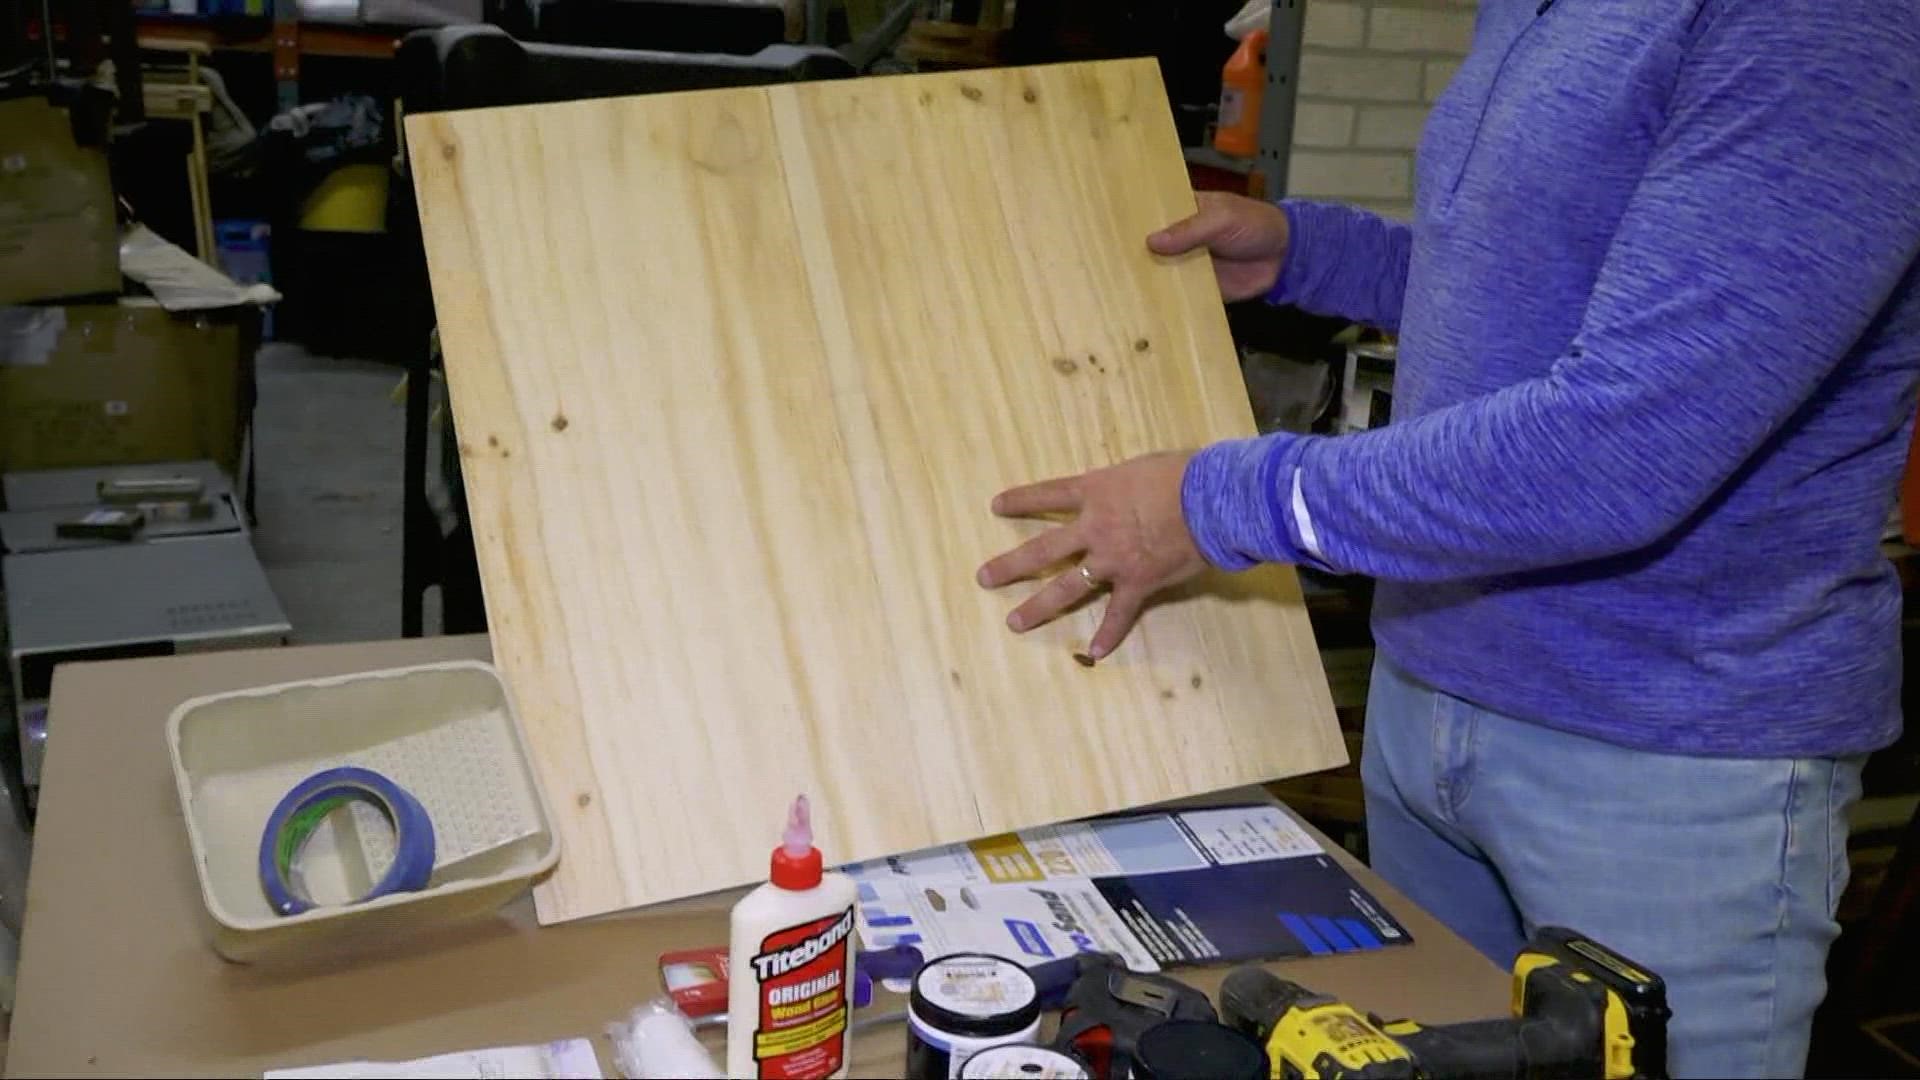
You'll need a 2x4, and you'll need at least a 12-inch section. I've also got a spare piece of thin plywood. It's only a quarter inch, but that's plenty to do the job.
- You’ll also need:
- A tape measure
- Drill and drill bits
- Wood screws
- Wood glue
- Masking tape
- A paint brush
- Wood paint and chalkboard paint
I am personally using three colors of paint on my project, because I want to go for an antique look. But, you can leave it raw or paint it, stain it, whatever you want.
First step as always - make your measurements, marking both your larger board and your chalkboard section. The board will be 10 inches high and 12 inches deep.
Then, mark three and a half inches in from the left edge. Your phone is actually gonna be charged in this area, and then finally, mark one inch all the way around from my other edges. Once all of your lines are connected, just tape off around your chalkboard section and paint the area with your chalkboard paint – I used three coats on mine to prevent chipping. Once it’s dry, you can start to make your cuts along the outer edge of the board
Now, your project should be starting to take shape. Next, we'll build our stand. For this, you'll need a 12-inch piece of 2x4 with an angle cut on it. And that's what will actually hold it up while the phone is being charged.
Once your base is cut, you can angle one edge about ten degrees - it's easiest to do this using a table saw, but if you don't have a table saw or the ability to cut off a 10-degree cut, you can keep the support squared off. This just means your stand will be totally vertical.
Next up, time to attach your flat piece to the base. I used a little wood glue, clamped it, and then secured it with two screws.
Our next step is to cut the blocks which will hold your phone in the charging position. Again you can absolutely use scrap wood for this - just rip them and cut them to length. Place the two pieces on your board leaving a space where the cord for the charger will go.
Pro tip here - just sand your pieces before attaching them to the board for a more finished and smoother look.
Now, once you’ve decided on placement, again, hit those blocks with your wood glue and clamps and use screws for some extra support. When those are on, it’s time to paint.
Mask off your chalkboard section first to protect it from your other paint, and then this is where you can get creative. I mixed white, black and gray to create my own design. As I mentioned, if you don't want this and you want wood stain, you can use a wood stain. You can use just a solid paint, whatever you want. It's really just a matter of preference.
Final steps here - just let your paint dry, remove your tape to reveal your chalkboard, and there you have it - a simple and useful project that might even make a great gift. Enjoy!