
CLEVELAND — One of the things I love about woodworking is that I can help my family and friends with projects. And, that’s the basis for this next JAY DIY I'm sharing with our 3News viewers. Going into it, I knew it was going to be a big project, but when my friends and 3News colleagues Stephanie Haney and Mike Polk Jr. came calling, I just couldn’t say no.
They needed my help building a fence for their newest family member, Stephanie’s dog Oscar Wilde. So, I packed up my tools and headed over to start what turned into quite the project.
Despite the challenges, – we all learned a ton of great DIY lessons along the way. We’re breaking this fence project into two parts to share with you, and we're starting with the basics. And while putting in a new fence can be a very expensive project, with the right tools and planning, it’s something anyone with a little (or maybe, a lot) of motivation can take on.
Stephanie has motivation in spades. Mike? Not so much.
"We were looking at labor prices. It's outrageous right now," Mike said. "So then I remembered the segment and I thought, Hey, how about JAY DIY free labor? And then Stephanie just kind of took over from there."
This project truly was Stephanie's baby. She did a ton of research and planning in advance, even showing me some blueprint sketches she put together when I arrived.
"We are putting up a fence with two gates in front of the driveway here, and then also a fence and a little gate over here. That's gonna be a little shorter to keep the dog in the compound," she explained.
The compound she is referring to is made up of Mike and his sister Erin's properties.
"Because I live next door to my sister, which isn't weird at all," Mike joked.
This particular fence is going to require a little extra work, but most fence DIYs will involve simply installing all of your posts into grass. And that’s actually where we began in this small section of lawn that connects Erin's property to Mike's driveway. This is our only section of fencing that will be installed in the ground.
For this part of the project you will need a little sweat equity - and a post-hole digger is pretty much essential.
You're going to want to dig your holes about two feet into the ground. While I got to work digging away, not shockingly, Mike was nowhere to be found.
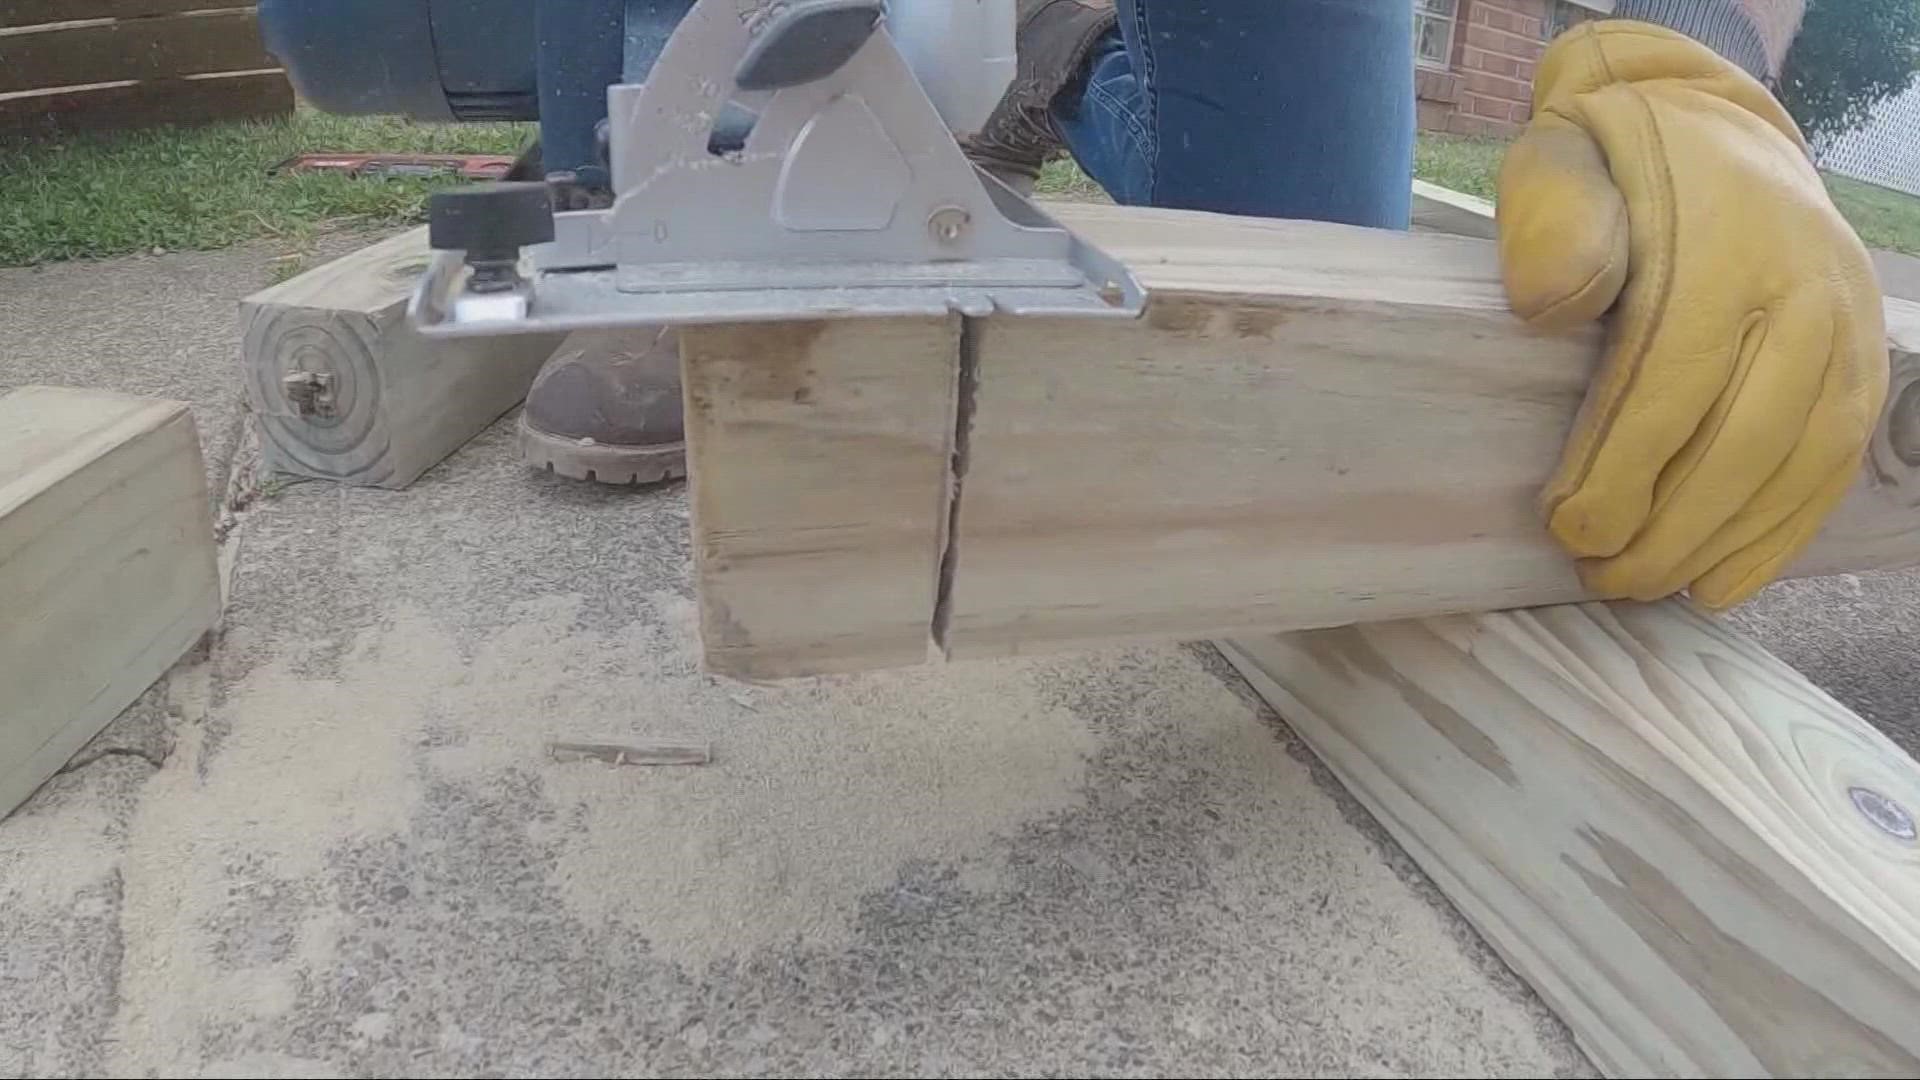
Stephanie on the other hand, jumped right in. As I mentioned, she did much of the work in advance - and had all of our supplies ready to go. For this part of our fence, we're using 4-by-4 posts that are 8 feet fall, dug 2 feet into the ground and extending 6 feet above the ground. You'll also need fast-setting concrete mix and something to mix it in.
After your post holes are dug out, you should put in your posts to check and see if they are level - if you’re working across elevation or grading changes, you might need to trim your posts so they're even.
In our case, part of the lawn slopes about two inches down from high point to low point, away from the house, so I had to trim two inches off one of our posts.
Once your posts are level and ready to go it’s time to secure them in place with your quick-crete. Mike did bring over a bag or two, but while we were hard at work mixing and pouring...he disappeared again. Our cameras eventually found him enjoying a cold beverage.
"Now, do I have any idea what they're doing over there? Frankly, I don't," he confessed. "I hope they get it done pretty quickly. I don't wanna push 'em because I don't wanna have to lift anything myself. But at the same time, it would be nice if they could have it wrapped up by the weekend. Because I've got some plans."
Well, Mike had to learn some patience because we were just getting started. Once that cement dried, it was time to tackle adding the fencing sections to our posts.
And Stephanie did get Mike to help her put together their own fencing panels earlier on. If you don't want to take the time and energy to build your own, you can also buy these at any large home improvement store - but they'll be more expensive pre-made.
With those pieces all ready to go, we attached them to our posts with wood screws and a drill, and if you're following along at home....you’re going to want to bring the level out one more time to make sure those fencing panels are level as well.
If your entire fence will be secured with posts into grass – simply repeat these steps for each section. But, once we got started, we learned the rest of our posts needed to be secured into concrete…and that’s a much more difficult deal that we’ll save for part two of this project.
At the end of part one, Stephanie reflected that despite all of the planning she put into this project, we quickly learned we had some big adjustments to make.
"Jay got here and he showed me all the things that I did not take into consideration, which is very nice of him. So now we're on track," she said. "But I am confident in Jay Crawford and I am also very confident in Mike's ability to not be mad if we have to go back to Home Depot 10 more times... Oscar Wilde, the Wilde man, he will be contained by the end of this. I don't know if that will happen on day two. It might be day three or day four. But by the end of it, there will be a fence and there will be some gates. So I'm looking forward to that."